Most Popular Parts
These are the most commonly purchased repair parts for CWE5800ACB.
-
(11)
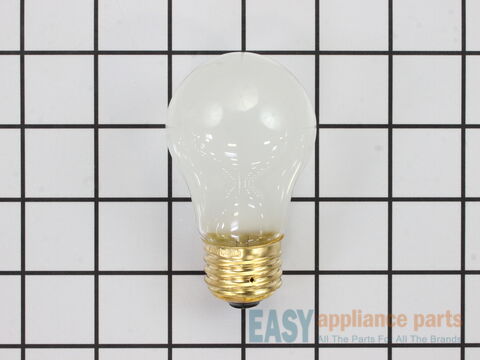
This 40-watt light bulb has a standard screw-in base. It is used in many different appliances. If your current bulb is burnt out or broken you will need to replace it. This light bulb is a genuine OEM part and is sold individually.
-
(12)
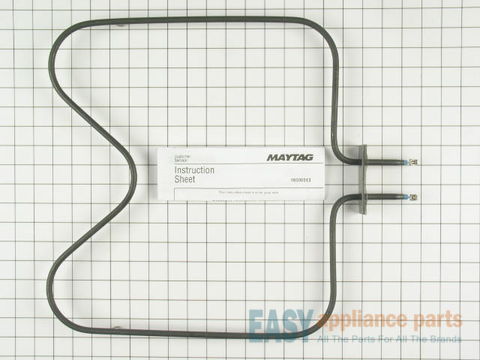
The bake element is located on the bottom of the oven cavity. This spade-style bake element has push-on wire terminals and is 16 inches wide. It has a terminal depth of three inches and a total element length of nineteen inches. If your oven is not heating evenly, the element will not heat or has little to no heat when baking, you may need to replace the element. This genuine OEM bake element comes with instructions and is intended for use with electric ovens. Please remember to disconnect the power to your oven before you start your repair.
-
(4)
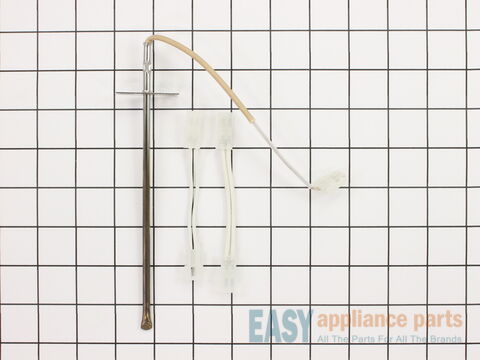
The oven sensor detects the temperature within the oven cavity and sends the information to the control board. If your oven is not heating evenly, has little or no heat when baking, or is too hot, you may need to replace the sensor. This long oven sensor kit comes with two harness adapters and is a genuine OEM part. Please remember to disconnect the power before starting your repair.
-
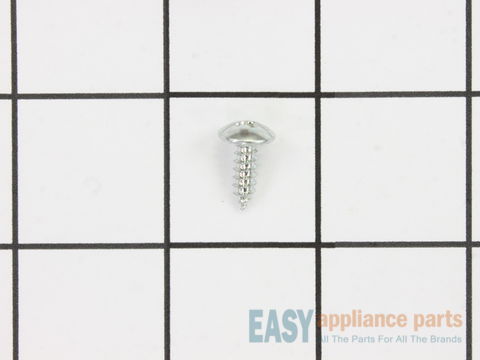
This screw is half an inch long. It is made of metal and is intended for use with ranges, refrigerators, and washing machines.
-
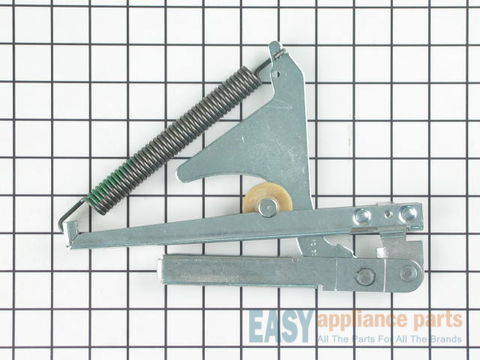
This door hinge is a genuine OEM replacement part for your wall oven. Replacing this part will require partially removing your oven from the wall, to access the hinge. This part contains one hinge, although it is recommended to replace both at the same time. You will need a Phillips screwdriver to unscrew the hing assembly and install the new one.
-
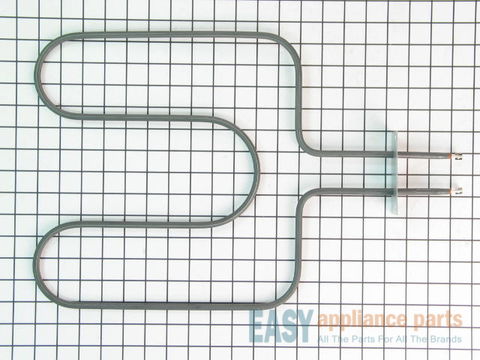
This broil element is found on the roof of the oven.