Most Popular Parts
These are the most commonly purchased repair parts for F12A1FDP.
-
(11)
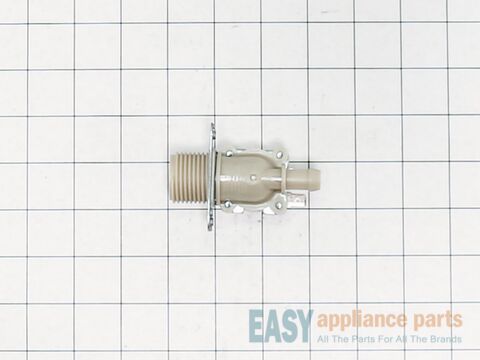
The hot water inlet valve is located on the back of the washer and it helps control the amount of water that enters into the washer. The valve has a standard hose fitting inlet, 1 water outlet, 120 volts and 6 watts. If the washer is filling slowly or not at all, the solenoid may have gone bad and you will need to replace the inlet valve. The valve measures approximately 3” L x 2 3/4” W. Please remember to disconnect the water and power to the washer before starting the repair. This is a genuine OEM hot water inlet valve.
-
(5)
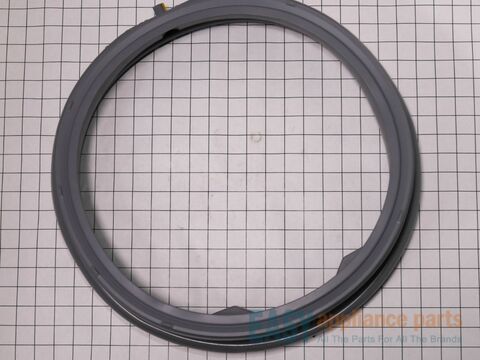
Also known as a door boot seal or bellow and comes with a drain hole. Door boot 4986ER0004F is an original equipment manufacturer (OEM) part that fits some front-load washers in these series: Kenmore and Kenmore Elite 796; and LG WM and CW.
Door boot 4986ER0004F forms a seal between the wash tub and the door, preventing leaks.
This door boot includes a drain port; if your 27-inch LG front-load washer was made before September 2007, use door boot 4986ER0004B instead, because those washers don't have a drain port.
-
(1)
-
(1)
-
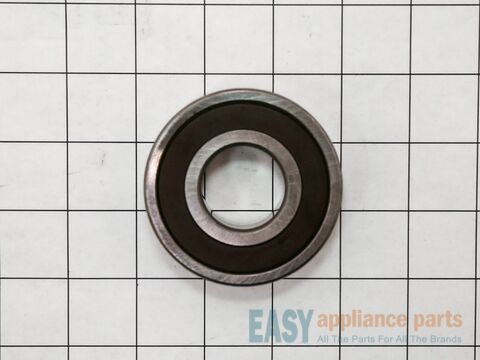
(2)
The tub bearing supports the spin basket shaft at the back of the washing tub. If your washing machine will not spin, is leaking water, or if there is a loud screeching noise during the wash cycle, there could be an issue with the tub bearing. This genuine OEM replacement bearing has a 3-inch outer diameter, and is used to help the tub spin smoothly and to stop the washing machine from shaking during the cycle.
NOTE: This part is very difficult to install. The manufacturer recommends replacing the complete rear tub and bearing assembly at the same time.
-
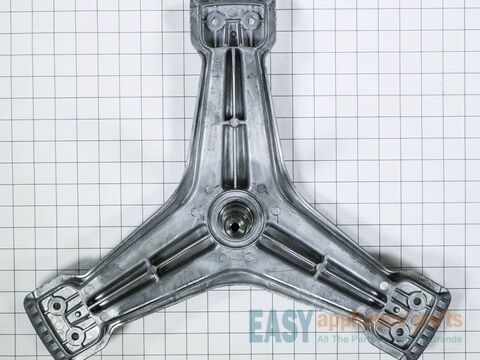
(3)
This part is called a spider, spinner support or rear drum support for your washer. It is triangular, with three arms, and it is made of metal. The washer spinner supports and spins the tub while the washer is running. If you notice that your washer shakes or moves during operation, or if it is excessively noisy, you may need to replace the spider. This part is sold individually and is an authentic OEM part sourced directly from the manufacturer.