Most Popular Parts
These are the most commonly purchased repair parts for JGD8345ADB.
-
(9)
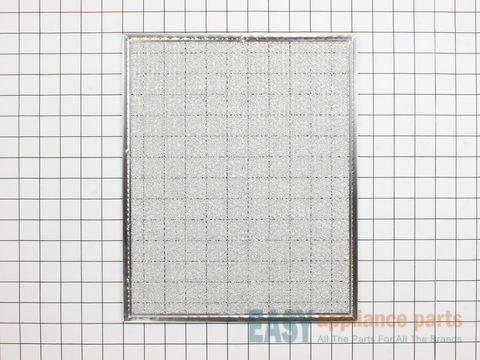
This grease filter is intended for use with some downdraft cooktops and ranges to collect grease particles in the air from cooking. The grease filter is chrome in color, approximately fourteen inches long and almost twelve inches wide. The grease filter is sold individually and is a genuine OEM part.
-
(2)
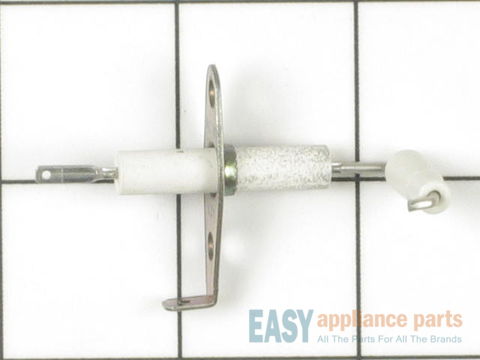
This top burner igniter has a male spade terminal. It is used to create a spark that will light the gas and start the burner when the burner knob is depressed and turned. The mounting bracket is included with the igniter. If your element will not heat, will not start, or the gas igniter glows but will not light, you may need to replace the igniter. This is a genuine OEM part. It is recommended to disconnect the power to your range before you start your repair.
-
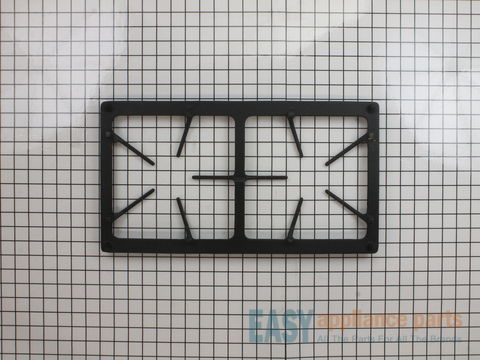
This is one double burner grate - which means you get one grate that covers two burners.
-
(1)
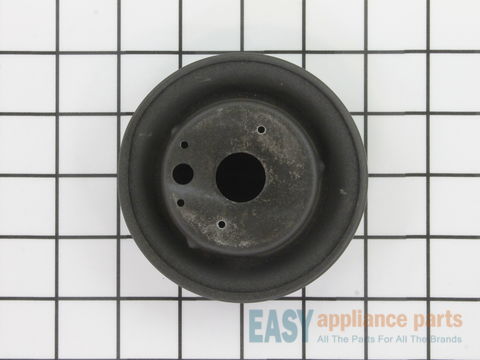
This surface burner head is for ranges.
Surface burner head distributes the gas through holes or slots to create an even flame across the cooking area.
Shut off the gas supply and unplug the range before installing this part. Wear work gloves to protect your hands.
-
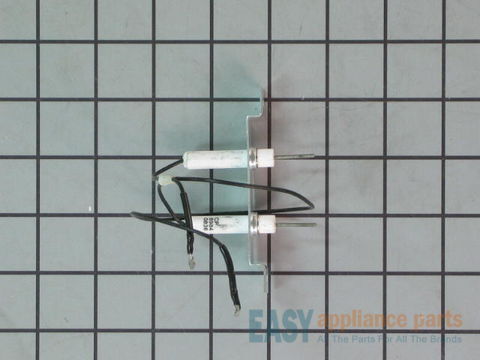
(3)
This part provides the spark to the burners.
-
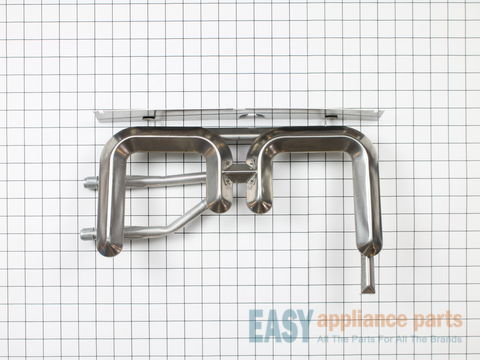
Used to provide heat/flame for the grill side of your appliance.