Most Popular Parts
These are the most commonly purchased repair parts for MHE14XMB1.
-
(17)
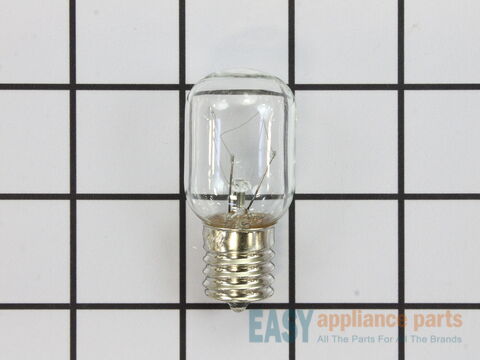
This part is the exterior replacement light bulb, with a small screw base, for your microwave. If your light bulb is burnt out, it will not be able to do this, and will need to be replaced. Before you change the bulb, be sure to check that the light socket still works, as it may need to be replaced as well. This bulb is 40 watts, is sold individually and is a genuine OEM part. Remember to disconnect the microwave from the power source before you begin this repair.
-
(11)
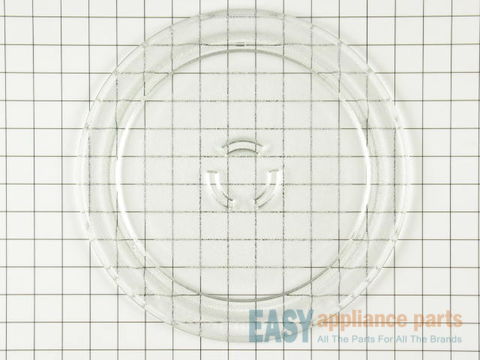
This glass cooking tray provides a level cooking surface for food in your microwave. If your tray is broken or cracked it should be replaced. This tray is made from glass and is a genuine OEM part. No tools are required for this repair.
-
(2)
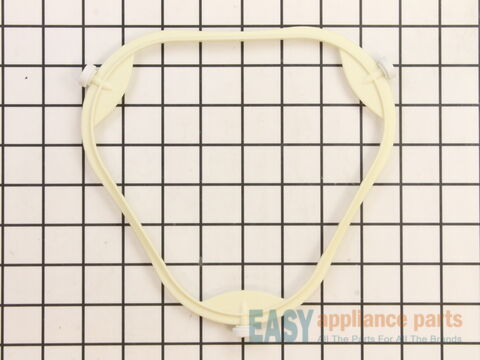
This support ring sits underneath the glass turntable tray and supports the tray as it rotates. If your microwave tray is not turning, you could have a broken or damaged rotating ring and it will need to be replaced. This tray is white in color and measures approximately 8 inches wide on each side. This is a genuine OEM part.
-
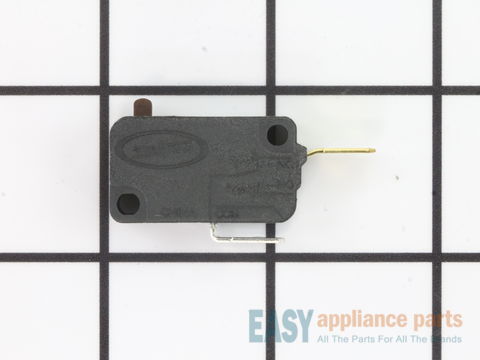
This door interlock switch is for microwaves.
Door interlock switch prevents the microwave from starting when the door is open.
Because the microwave shielding and interlock switches must be properly tested following the door interlock switch replacement, a service technician should install this part.
-
(1)
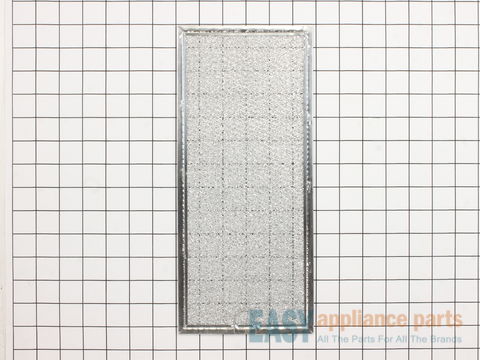
The grease filter traps the grease particles in the air from cooking. It measures approximately 13 1/2” by 6” and is silver in color. Most microwaves require two filters. This grease filter is a genuine OEM part and is sold individually.
-
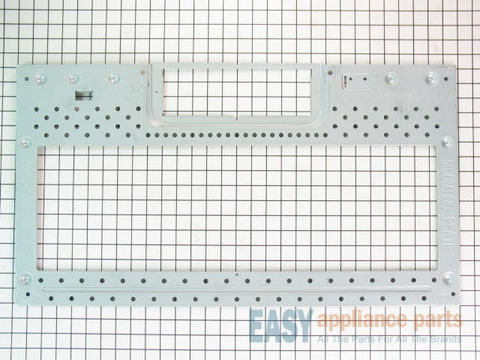
This part is used to mount your microwave to the wall.