Most Popular Parts
These are the most commonly purchased repair parts for WRT21S4AW3.
-
(46)
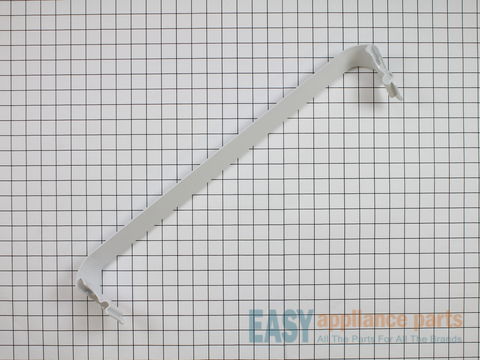
This refrigerator door shelf retaining bar is an attachment for your refrigerator door to hold small items in your fridge, such as condiments. The shelf bar attaches to the inside of the refrigerator door to hold food items on the door shelves. It may need to be replaced if it is warped or broken. The shelf bar measures approximately 25 inches long, 5 inches deep, 3 inches high, and is white in color. It is sold individually.
-
(31)
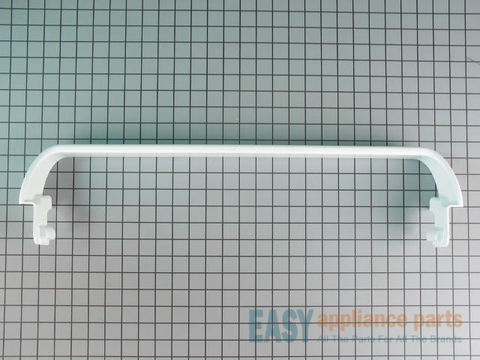
This refrigerator door shelf rack is an attachment for your refrigerator door to hold small items in your fridge, such as condiments. The door rack attaches to the inside of the refrigerator door to hold food items on the door shelves. The rack may need to be replaced if it is warped or broken. It measures approximately 25 inches long, 6 inches deep, 3 inches high, and is white in color. It is sold individually.
-
(10)
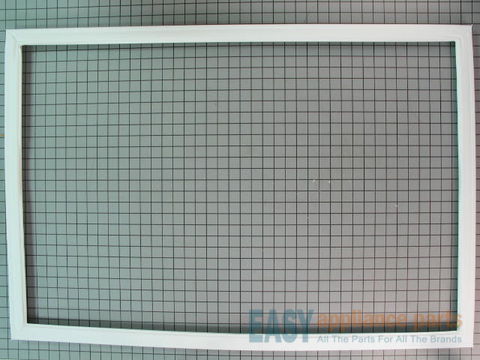
This white door gasket is used to make an air-tight seal for the cabinet when the door is closed to keep the cool air inside and prevent warm air from entering. This is a genuine OEM part.
-
(9)
-
(5)
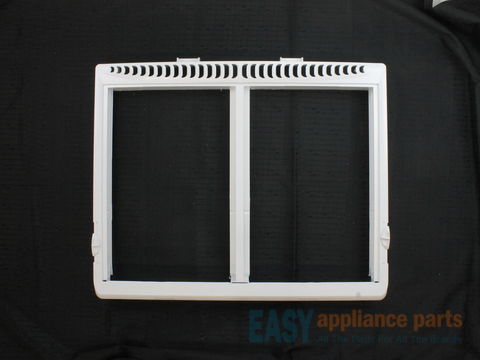
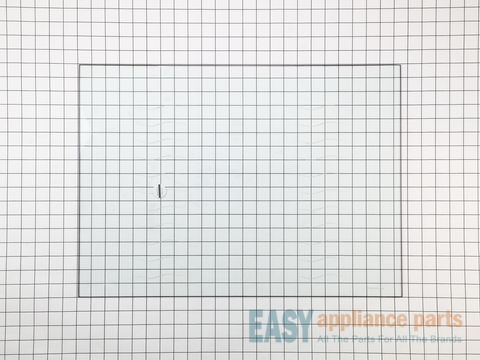
This the just the glass. The frame is NOT included.
-
(1)
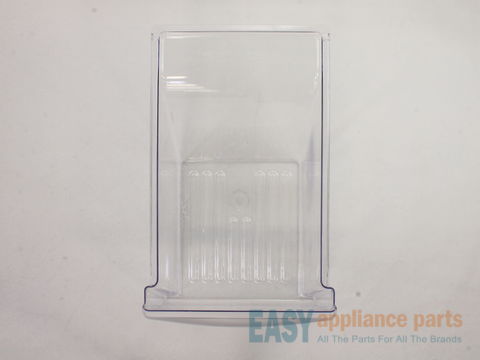
Sold individually.